
As the chilly autumn air moves in on the East Coast, we’re more inclined to bundle up and stay inside… which is yet another reason why live streaming is so important to us! From the comfort of our homes, we can attend long-awaited events, watch our favorite shows, and chat with friends across the globe.… Continue reading Interstitial Media Insertion Into Live Video
As the chilly autumn air moves in on the East Coast, we’re more inclined to bundle up and stay inside… which is yet another reason why live streaming is so important to us! From the comfort of our homes, we can attend long-awaited events, watch our favorite shows, and chat with friends across the globe. We’re always coming up with creative ways to enhance the Red5 Pro product to create the best streaming experience possible—and the recent addition of the Interstitial Media Insertion feature is no exception.
Interstitial Media Insertion allows for a temporary switch between two streams, so that you can pull in guest streams, ads, and other content between segments of your main video. To use the feature, you will need server version 9.1.0 or higher. You will also need to enable the InterstitialREST servlet on your server. To do this, please follow the instructions listed in the Interstitial Server Configuration section of the documentation.
In light of this release, we have documented the steps showcasing how the feature works, using the example in the Red5 Pro testbed. Once you have configured your server accordingly, take a look at the tutorial below for an explanation of our testbed example.
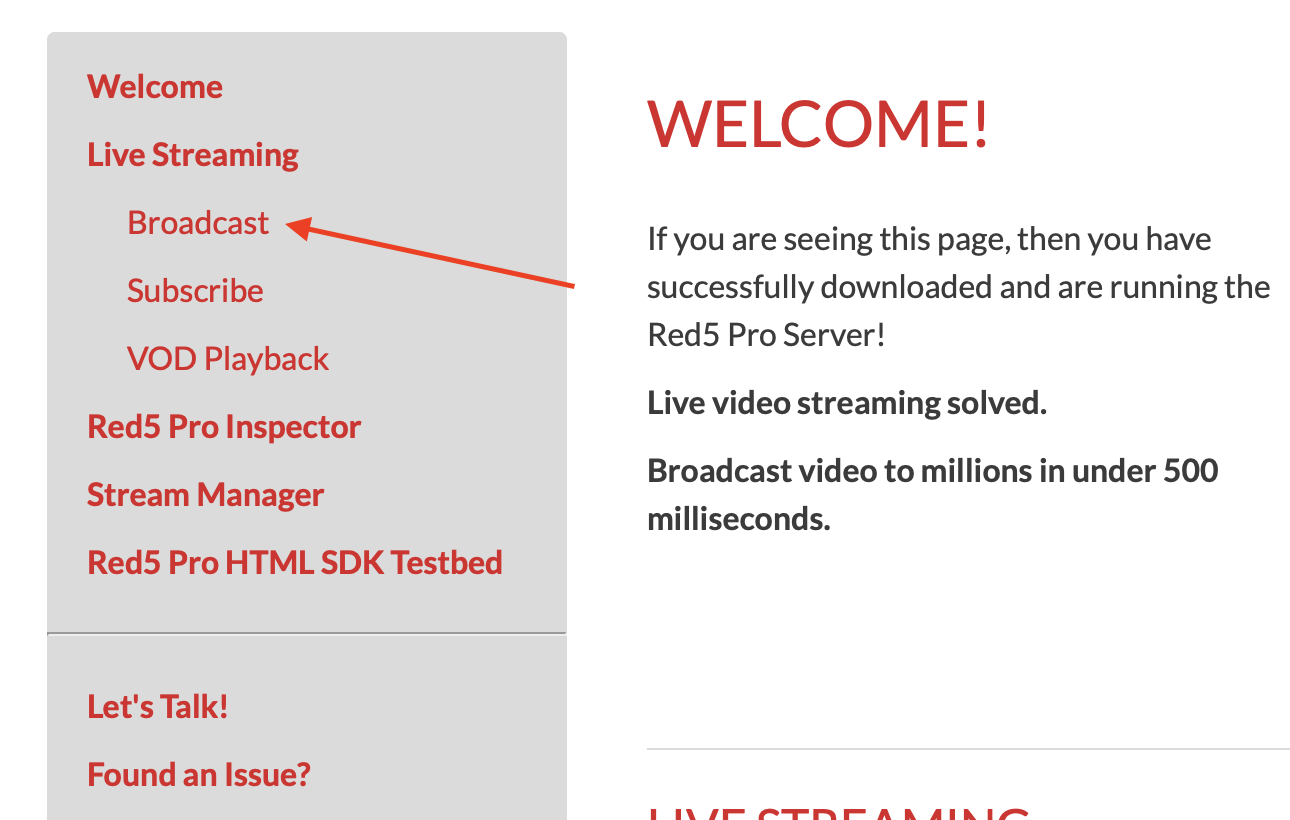
To use the interstitial feature, you will need to broadcast two separate streams. To begin, connect to your Red5 server and click the “Broadcast” link on the left side of the page.
From here, you can start the first stream. Enter a stream name (we’ll use “stream1”), select the camera you want to use, and click the big “Start Broadcast” button underneath the video.
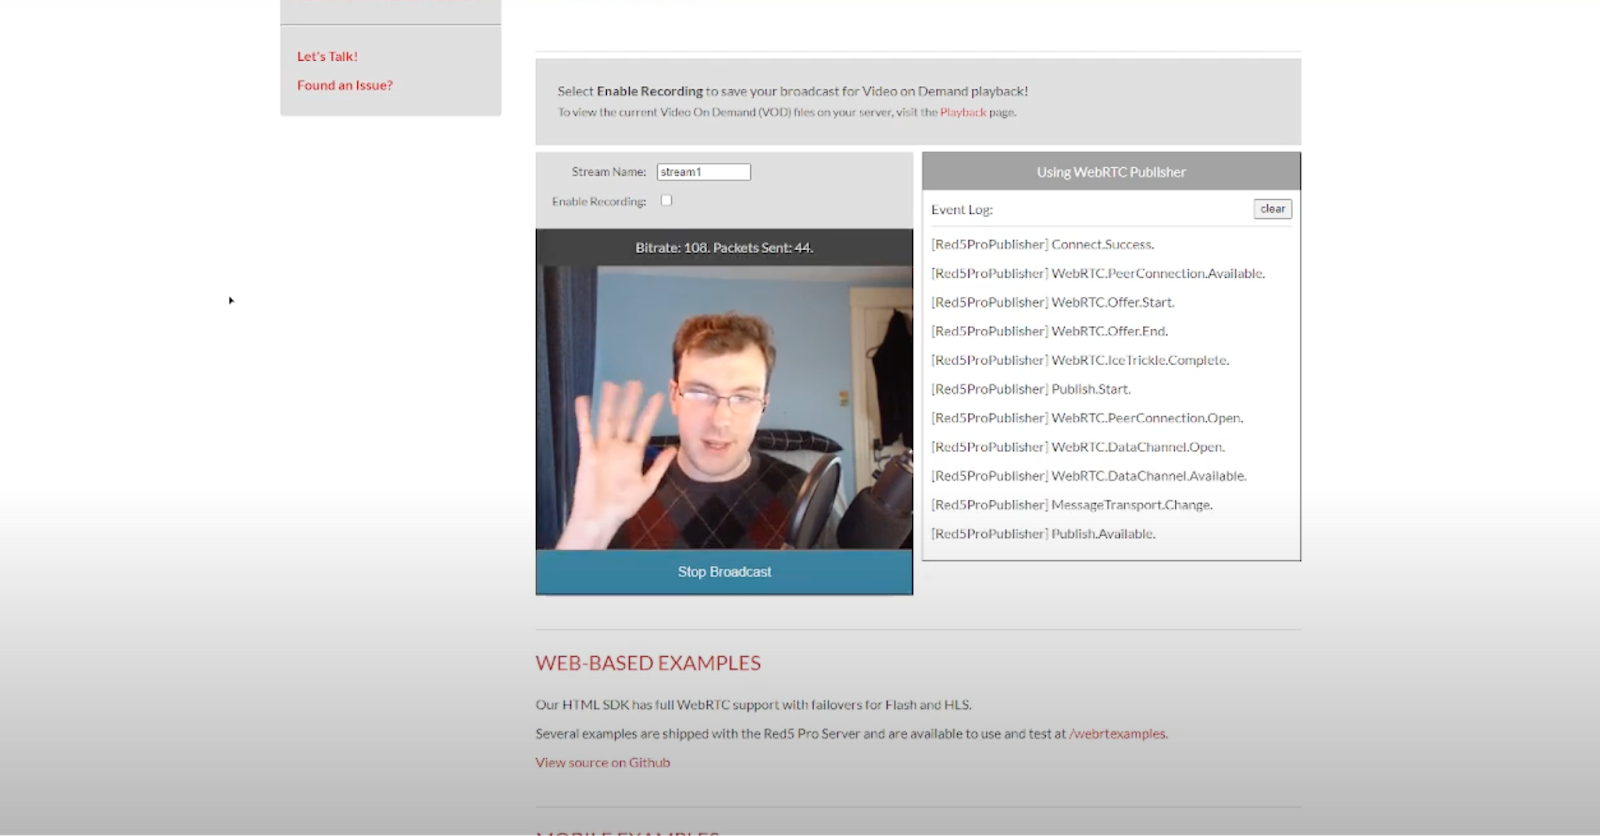
Repeat this process on another device, making sure to give the new stream a unique name (we’ll use “stream2”). We recommend using a different camera than you used for stream1. If you broadcast both streams from the same camera, the streams will be identical and the switch from stream1 to stream2 may be unclear.
You are now sending two streams at once.
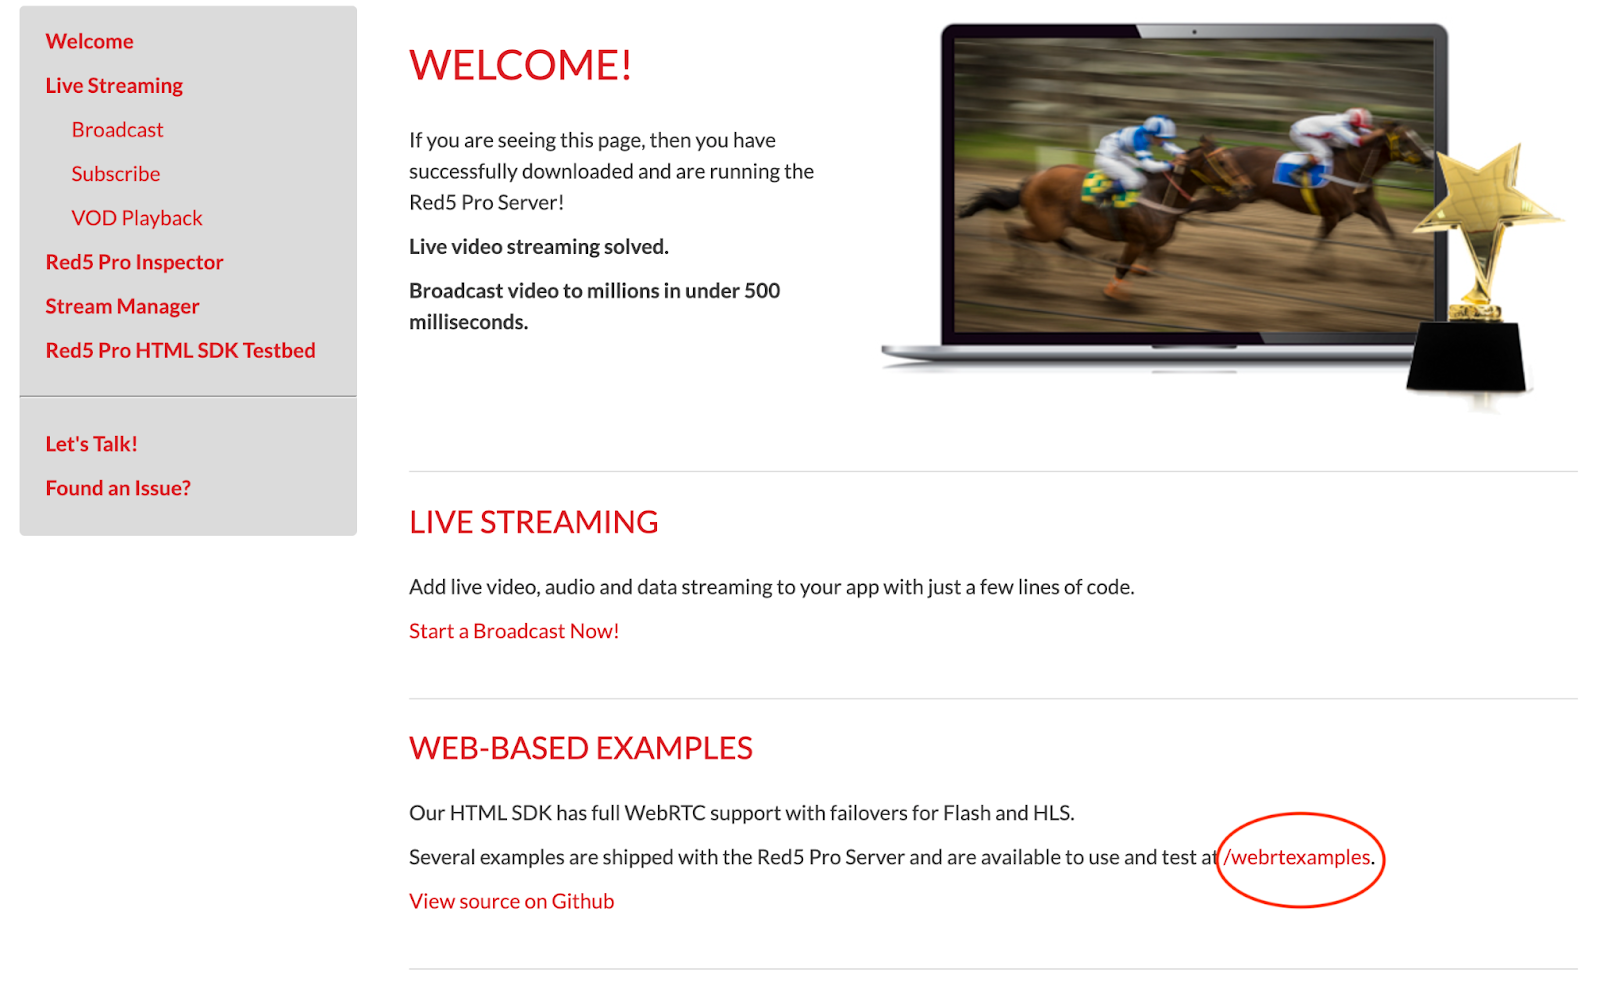
To view the Interstitial Media, navigate to the WebRTC Examples on your server welcome page. You can find the link under the Web-Based Examples heading, or simply add /webrtcexamples/ to the end of your server host URL.
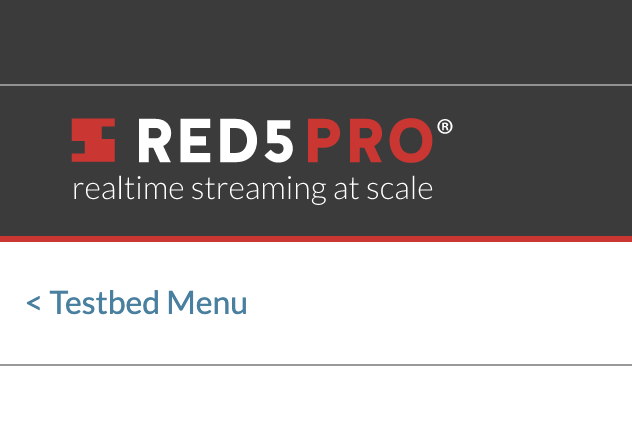
Next click the “Testbed Menu” link in the upper left.
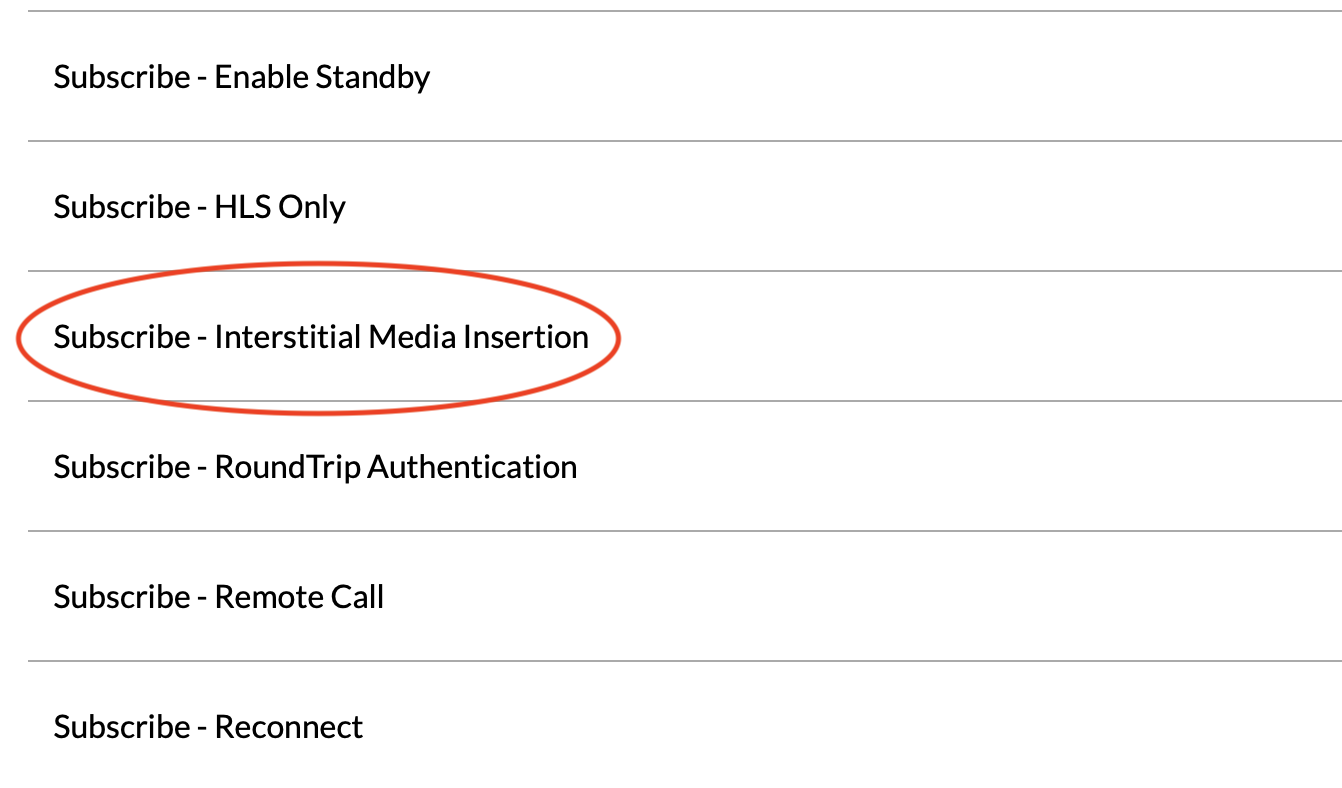
On the testbed menu, scroll down until you see the example titled “Subscribe – Interstitial Media Insertion”. Select this option.
Check that you have the correct stream names listed under “Target” (the main stream) and “Interstitial” (the interim stream). In our case, the target is live/stream1 and the interstitial is live/stream2. Your target stream should now be visible in the video player on this page.
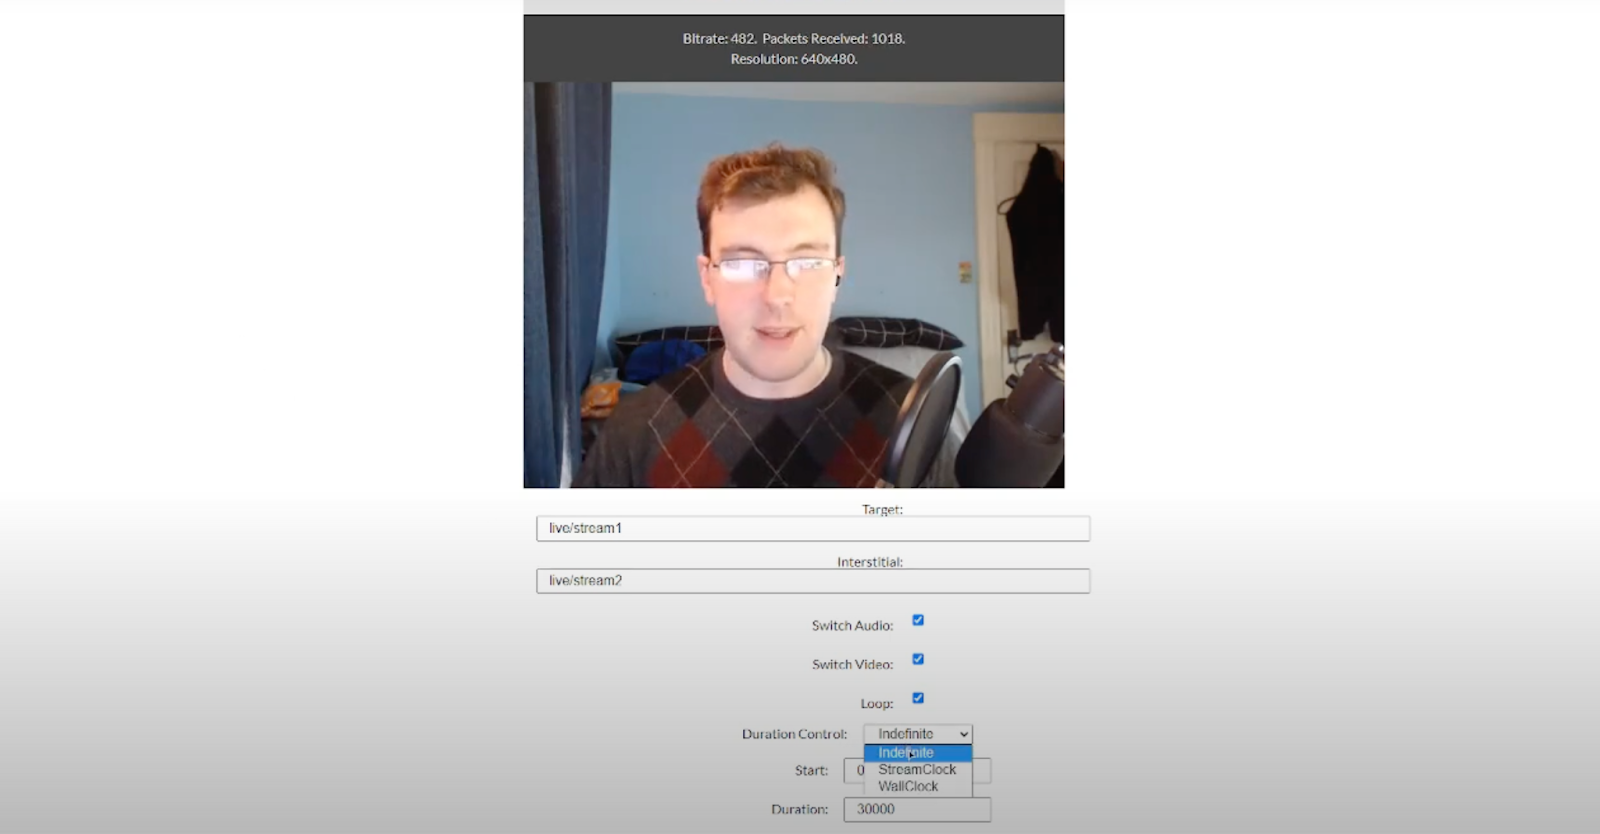
Note that there are three different options under “Duration Controls”:
- Stream clock: This interstitial begins at a specific time from the stream start, and it lasts for a specified duration. It resumes automatically.
- Wall clock: This interstitial begins at a specified UTC time, and lasts for a specific duration. It resumes automatically.
- Indefinite: This interstitial type begins immediately, and waits for a command from the server to resume the original stream.
You can find more information on these options in our feature announcement post. For this example, let’s stick with Indefinite.
To swap to the Interstitial stream, click “Switch to Interstitial”. Within a few moments, the interstitial media stream will appear!
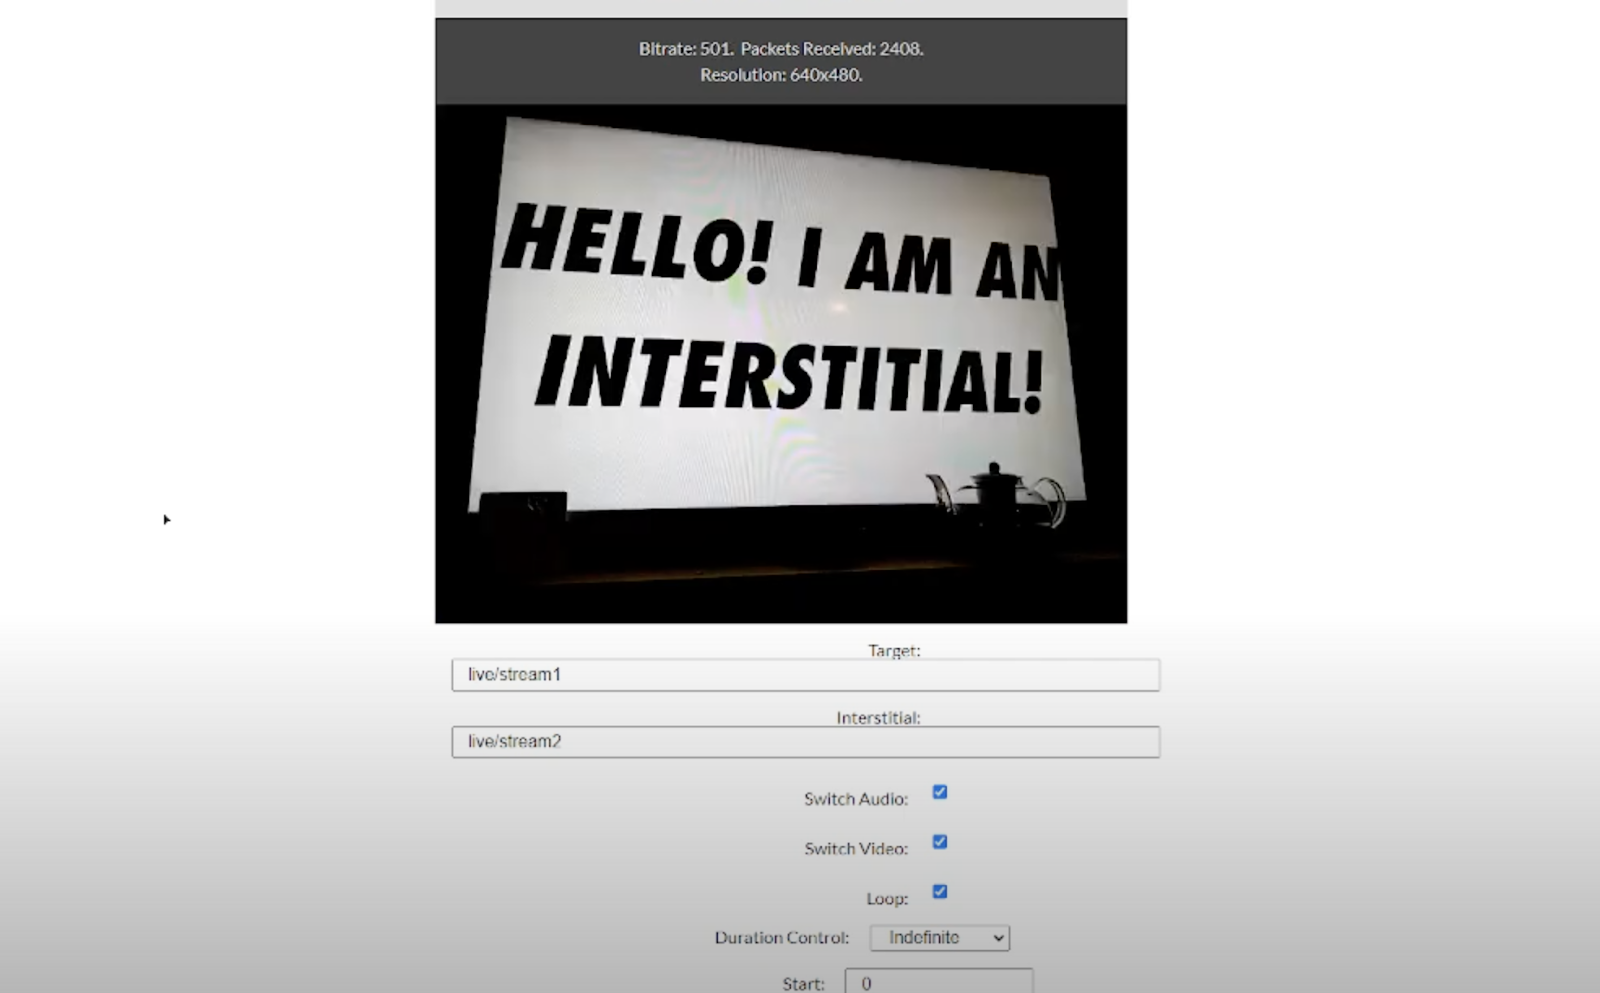
When ready, you can switch back to the original by hitting “Resume”.
So how can you make use of this feature? There are tons of possibilities, but we’ve rounded up a few ideas that might pique your interest:
- Ad Insertion: Interstitial allows you to easily and dynamically place ads during your stream.
- Intermissions and Hold Screens: Many events, including musicals, plays, and more, include a brief intermission between segments. Use the Interstitial Media insertion feature to add an Intermission screen, music, or entertainment in the meantime. This is also a perfect way to create a “Please Hold” screen if you need to put someone on hold during a call.
- Guest Stream: During a virtual event, such as a panel or award show, put a temporary spotlight on one of the guests by switching to a different camera view.
- News Media: Display relevant videos and other media in between talk segments of the show, before returning to the main panel.
- Sporting Events: Present team and player statistics between the main video stream, or insert replay clips from earlier in the game.
- Auctions: Showcase information about the item being auctioned.
The ideas listed above are just a few of the potential use cases for the Interstitial Media Insertion feature. As we continue to lean into an increasingly virtual world this fall, it’s time to rethink how we experience online events. The options are limitless! Red5 Pro gives developers space to be creative, and provides a fully customizable base for live streaming and experience delivery. With Red5 Pro, thinking outside the box is encouraged, and features like the Interstitial Media Insertion can be molded to fit your specific use case. We’d love to hear how you plan to use it! If you have any questions about how to make Red5 Pro work for you, please contact the Red5 Pro team at info@red5.net or schedule a call.